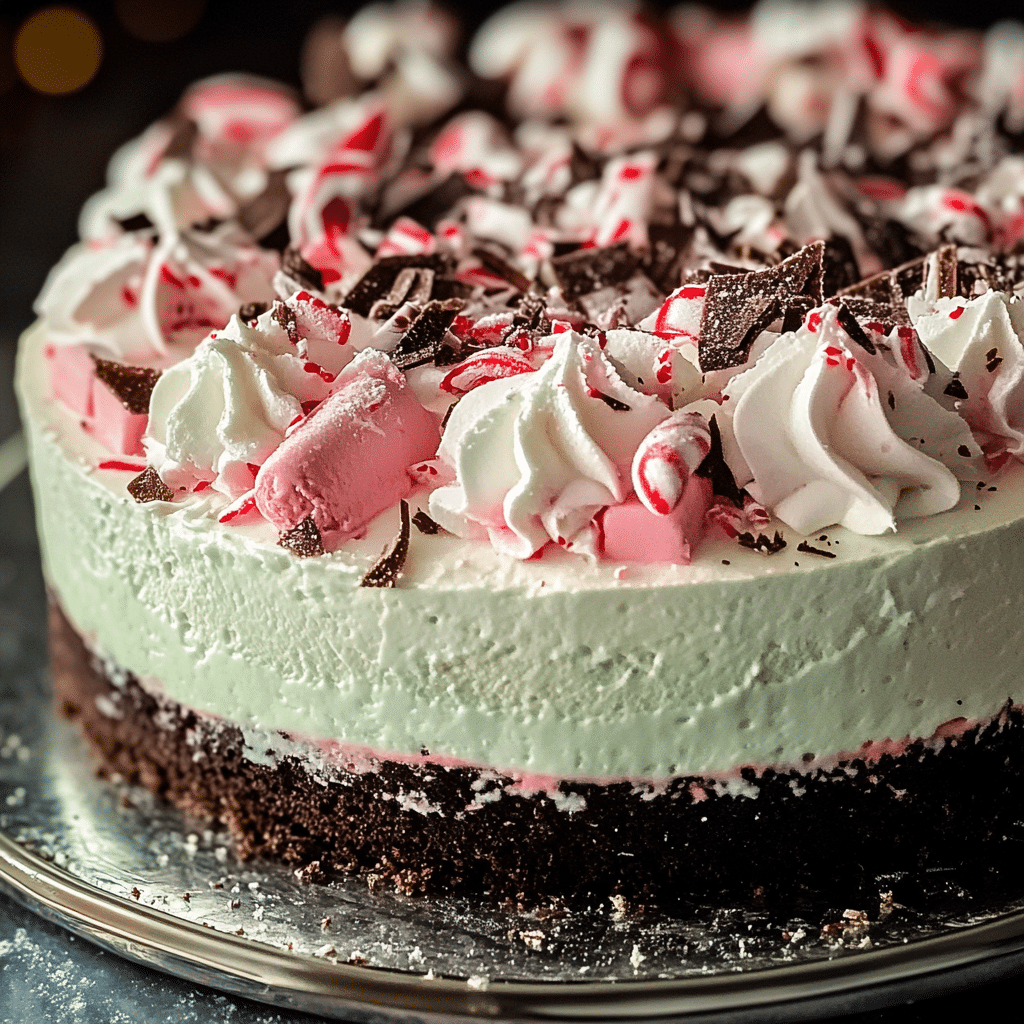
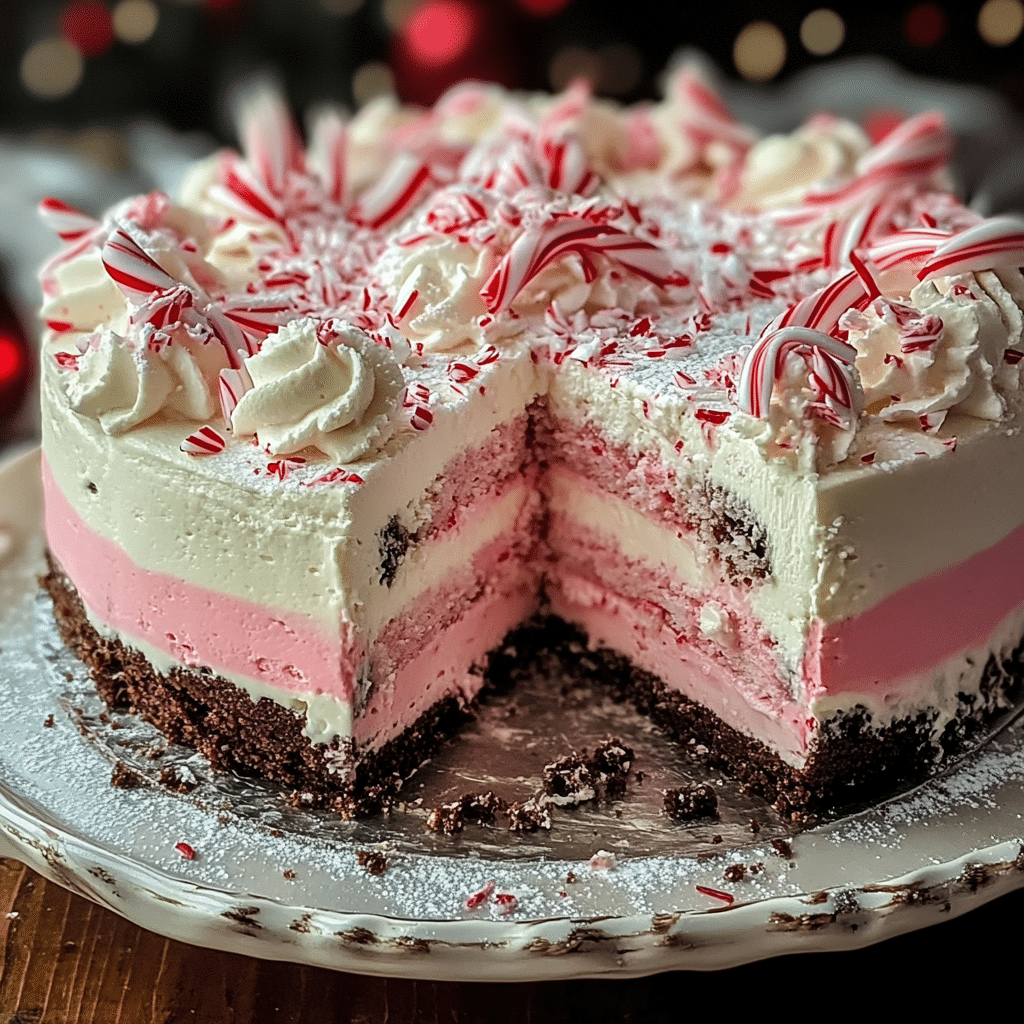
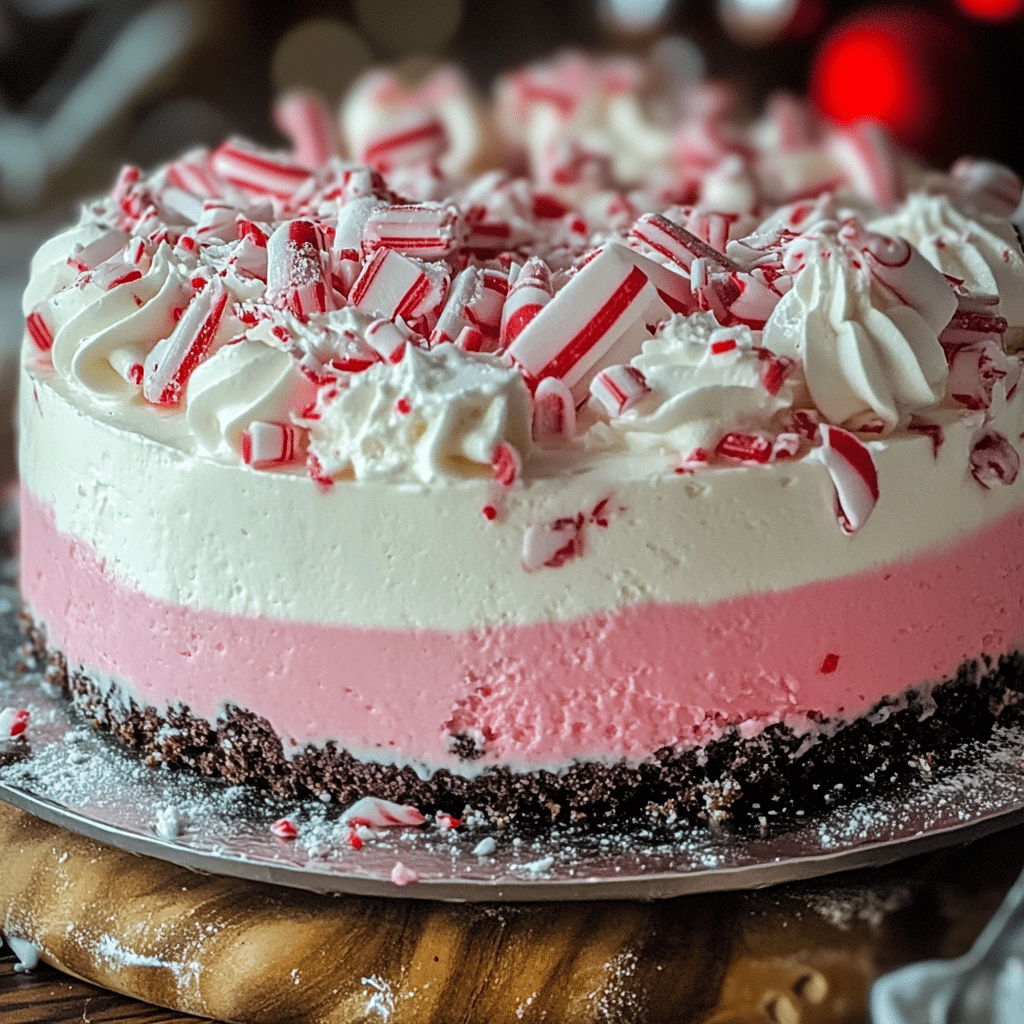
This Ultimate Festive Peppermint Ice Cream Cake is the dessert that’s going to elevate your holiday celebrations to a whole new level. Perfect for winter get-togethers or holiday dinners, it combines the refreshing taste of peppermint ice cream with a rich chocolate crust and fluffy whipped topping, all topped off with a sprinkle of crushed candy canes and chocolate shavings. It’s the ideal dessert to add a festive touch to your table and will have your guests raving about its delicious flavors and stunning presentation. Whether you’re hosting a Christmas party or simply craving a sweet treat, this cake is sure to impress.
What’s even better is that this cake can be made in advance, freeing up time on the day of your event for other things. The combination of creamy ice cream, crunchy peppermint candies, and the richness of the chocolate cookie crust makes this dessert a festive masterpiece. It’s a simple yet indulgent treat that will fill your home with sweet holiday aromas and create lasting memories. Now, let’s dive into why you’ll love this recipe!
Why You’ll Love This Recipe
There’s so much to love about this Ultimate Festive Peppermint Ice Cream Cake. First, it’s a perfect blend of textures and flavors, from the smooth and creamy peppermint ice cream to the crunchy chocolate crust. The whipped topping adds an airy richness, and the peppermint candies sprinkled on top create an extra burst of flavor. Plus, it’s a no-bake dessert that’s as easy to prepare as it is delicious.
This ice cream cake is also visually stunning, making it a great addition to any holiday gathering. Its vibrant peppermint flavors scream “festive,” and its chocolate base gives it the perfect balance of sweet and rich. Whether you’re serving it at a holiday party, family dinner, or as a special treat for yourself, this cake is sure to be a crowd favorite. The best part is that you can make it ahead of time, so when it’s time to celebrate, you can simply pull it out of the freezer and enjoy.
Ingredients
For the Crust:
- Chocolate cookie crumbs (e.g., Oreos, without filling)
- Unsalted butter, melted
For the Ice Cream Layer:
- Peppermint ice cream, slightly softened
- Crushed peppermint candies or candy canes
For the Whipped Topping:
- Heavy whipping cream
- Powdered sugar
- Vanilla extract
For Garnish:
- Crushed candy canes or peppermint candies
- Chocolate shavings or mini chocolate chips
Variations
There are several ways to customize this Ultimate Festive Peppermint Ice Cream Cake to suit your tastes or the occasion.
- Chocolate Mint Cake: Swap the peppermint ice cream with chocolate mint ice cream for a deeper chocolatey flavor with a minty twist.
- Nutty Touch: Add crushed nuts like almonds or pecans to the crust or ice cream layer for a crunchy texture that complements the softness of the cake.
- Layered Cake: You can also create layers of different ice cream flavors, like vanilla, chocolate, or even caramel, for a more complex flavor profile.
- No-Crunch Option: If you prefer a smoother texture, skip the crushed peppermint candies and just use the peppermint ice cream and whipped topping for a classic, smooth version.
How to Make the Recipe
Step 1: Prepare the Crust
In a medium-sized bowl, combine the chocolate cookie crumbs with the melted butter. Stir until the crumbs are evenly coated and the mixture sticks together when pressed.
Step 2: Press the Crust into a Pan
Transfer the crust mixture into the bottom of a 9-inch springform pan. Press it down firmly to form a solid base. Use the back of a spoon or the bottom of a glass to pack it tightly. Place the crust in the freezer to set while you prepare the other layers.
Step 3: Prepare the Ice Cream Layer
Slightly soften the peppermint ice cream at room temperature for 5-10 minutes until it’s easy to spread. Once softened, stir in the crushed peppermint candies or candy canes for an extra layer of crunch and flavor.
Step 4: Spread the Ice Cream Layer
Take the prepared crust from the freezer and spread the softened peppermint ice cream evenly over the crust. Use a spatula to smooth it out into a thick, even layer. Return the cake to the freezer to firm up for at least 4 hours, or overnight.
Step 5: Make the Whipped Topping
In a chilled bowl, beat the heavy whipping cream, powdered sugar, and vanilla extract together until stiff peaks form. Be careful not to overwhip, as it could turn into butter.
Step 6: Add the Whipped Topping
Once the ice cream layer is firm, spread the whipped topping over the ice cream layer, creating an even, fluffy layer.
Step 7: Garnish the Cake
Sprinkle crushed candy canes or peppermint candies and chocolate shavings or mini chocolate chips over the top for a festive finishing touch.
Step 8: Freeze and Serve
Return the cake to the freezer for at least 2 more hours to fully freeze. Once firm, remove the cake from the springform pan, slice, and serve!

Tips for Making the Recipe
- Work quickly when softening the ice cream: To avoid it becoming too melty, let it sit at room temperature for a short time before spreading.
- Make sure the crust is packed tightly: A well-pressed crust will hold the ice cream layer together better and prevent it from falling apart.
- Chill the whipped cream bowl: For the best whipped cream results, chill your mixing bowl and beaters in the freezer for 10-15 minutes before whipping.
- Let it sit for a few minutes before slicing: If the cake is too hard to slice straight from the freezer, let it sit out for about 5 minutes for easier cutting.
How to Serve
This ice cream cake is perfect on its own, but you can also pair it with a warm drink like hot chocolate or coffee for a cozy holiday dessert. It’s ideal for serving after a big holiday meal, or you can slice it into smaller portions and serve at a festive gathering or party. For an extra touch, serve each slice with a drizzle of chocolate or a few extra crushed candies on top.
Make Ahead and Storage
Storing Leftovers
Keep leftover cake covered tightly in the freezer for up to a week. If stored properly, it can remain frozen and fresh for longer.
Freezing
This cake freezes exceptionally well, which makes it perfect for make-ahead desserts. Simply wrap it tightly in plastic wrap and aluminum foil to preserve its flavor and texture. When ready to serve, remove it from the freezer and let it sit for a few minutes before cutting.
Reheating
Since this is an ice cream cake, it’s meant to be served frozen. There’s no need to reheat it—simply let it thaw slightly before serving to make cutting easier.

FAQs
1. Can I use store-bought whipped topping instead of making my own?
Yes, you can substitute store-bought whipped topping, but homemade whipped cream adds a fresher taste and texture.
2. Can I use other ice cream flavors for this recipe?
Absolutely! You can experiment with different flavors like chocolate, vanilla, or even strawberry to make the cake uniquely yours.
3. How can I make the cake gluten-free?
Use gluten-free chocolate cookies or a gluten-free cookie crumble for the crust.
4. Can I use regular butter instead of unsalted butter?
Yes, you can use regular butter, but the taste will be slightly different due to the salt content.
5. How far in advance can I make this cake?
This cake can be made up to 2 days in advance. Just make sure it stays tightly wrapped in the freezer.
6. Can I use non-dairy ice cream?
Yes, non-dairy ice cream can be substituted for a dairy-free version of the cake.
7. How do I prevent the crust from being too crumbly?
Make sure the butter is fully incorporated into the cookie crumbs. If the crust feels too dry, add a bit more melted butter.
8. Can I decorate the cake with something other than crushed candy canes?
Certainly! You can decorate with sprinkles, mini marshmallows, or even crushed chocolate cookies for a different look.
9. How do I slice the cake?
Allow the cake to sit for a few minutes after removing it from the freezer. This will make slicing easier without it being too hard.
10. Can I freeze individual slices?
Yes, individual slices can be frozen in an airtight container for easy serving later on.
Conclusion
The Ultimate Festive Peppermint Ice Cream Cake is a showstopper of a dessert that will surely become a favorite at your holiday celebrations. With its combination of chocolate, peppermint, and whipped cream, it delivers a delightful mix of flavors and textures in every bite. This no-bake dessert is easy to prepare in advance, making it a stress-free option for your festive gatherings. Whether you stick to the classic recipe or experiment with your own variations, this cake is guaranteed to impress your guests and bring joy to any occasion.
Print
Ultimate Festive Peppermint Ice Cream Cake
- Total Time: 3 hours (including chilling time)
- Yield: 12 servings 1x
- Diet: Vegetarian
Description
This Ultimate Festive Peppermint Ice Cream Cake combines rich, chocolatey cookie crumbs with a creamy, minty ice cream layer and a fluffy whipped topping, all finished off with crushed candy canes and chocolate shavings. It’s the perfect sweet treat to bring holiday cheer to your table!
Ingredients
Ingredients:
For the Crust:
- 2 cups (200g) chocolate cookie crumbs (e.g., Oreos, without filling)
- 6 tbsp (85g) unsalted butter, melted
For the Ice Cream Layer:
- 1 ½ quarts (1.4 liters) peppermint ice cream, slightly softened
- ½ cup (50g) crushed peppermint candies or candy canes
For the Whipped Topping:
- 2 cups (480ml) heavy whipping cream
- 3 tbsp powdered sugar
- ½ tsp vanilla extract
For Garnish:
- Crushed candy canes or peppermint candies
- Chocolate shavings or mini chocolate chips
Instructions
-
Prepare the Crust:
In a medium bowl, combine the chocolate cookie crumbs with melted butter. Mix until well combined. Press the mixture into the bottom of a springform pan (or a pie dish) to form an even crust. Refrigerate for at least 30 minutes to set. -
Make the Ice Cream Layer:
Soften the peppermint ice cream slightly at room temperature for a few minutes. Spread the softened ice cream evenly over the chilled cookie crust, smoothing the top with a spatula. Sprinkle the crushed peppermint candies or candy canes evenly on top of the ice cream. Freeze the cake for 3-4 hours, or until fully set. -
Prepare the Whipped Topping:
In a large mixing bowl, whip the heavy cream, powdered sugar, and vanilla extract until soft peaks form. Spread the whipped topping evenly over the ice cream layer, smoothing it out with a spatula. -
Garnish:
Top with additional crushed candy canes, peppermint candies, or mini chocolate chips, and optionally some chocolate shavings. Freeze for at least 2 hours before serving. -
Serve:
Before serving, allow the cake to sit at room temperature for a few minutes for easy slicing. Serve chilled and enjoy the festive flavors!
Notes
- You can make this dessert ahead of time and keep it in the freezer for up to a week.
- For a smoother crust, use a food processor to crush the cookies.
- If peppermint ice cream isn’t available, any flavor of your choice can work as a substitute.
- Prep Time: 15 minutes
- Cook Time: 0 minutes
- Category: Dessert
- Method: No-Bake
- Cuisine: American


